-
Slinex Connexia
A mobile-first environment that turns smartphone into a command center More

-
Sonik AI
The AI Era Has Arrived More

-
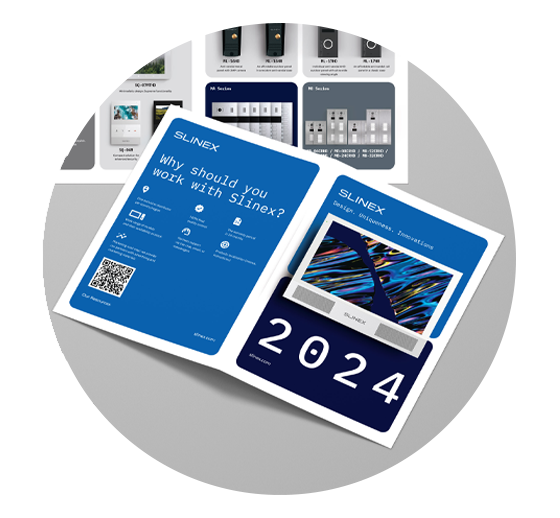
All the details, right at your reach
The convenient Slinex Leaflet is available Explore it now
-
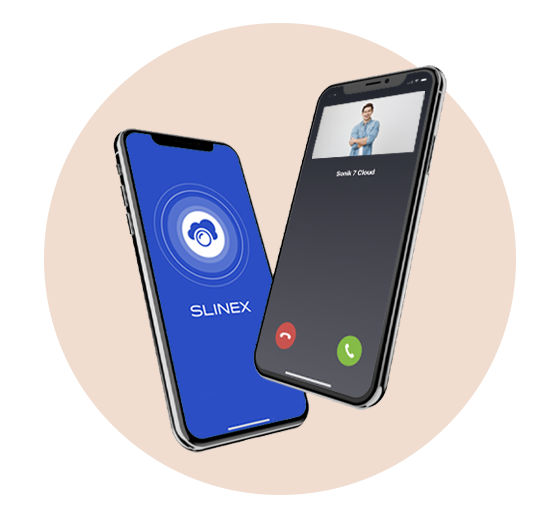
Slinex Smart Call
A truly smart forwarding app More
-
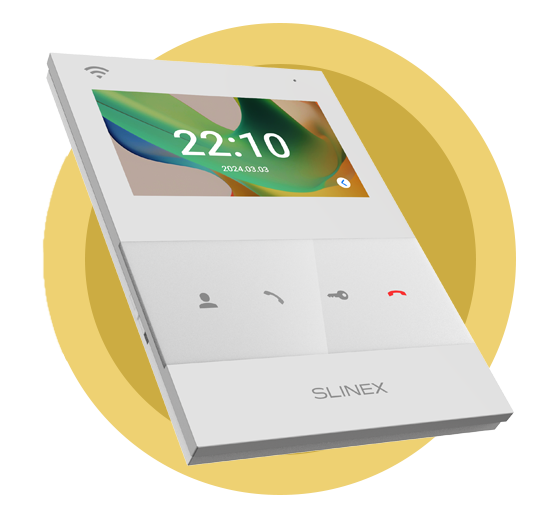
SQ-04N Cloud
The first 4-inch intercom with Slinex Smart Call app More
-
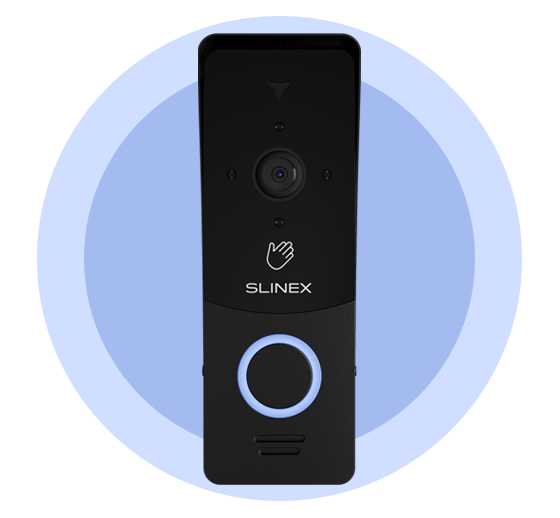
ML-17HD
A fresh look at analogue outdoor panels More

-
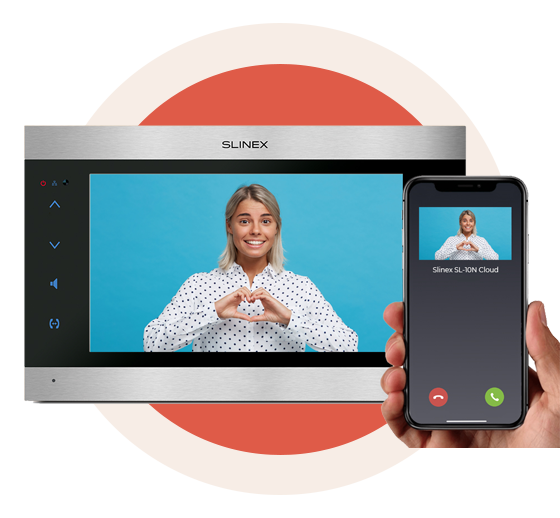
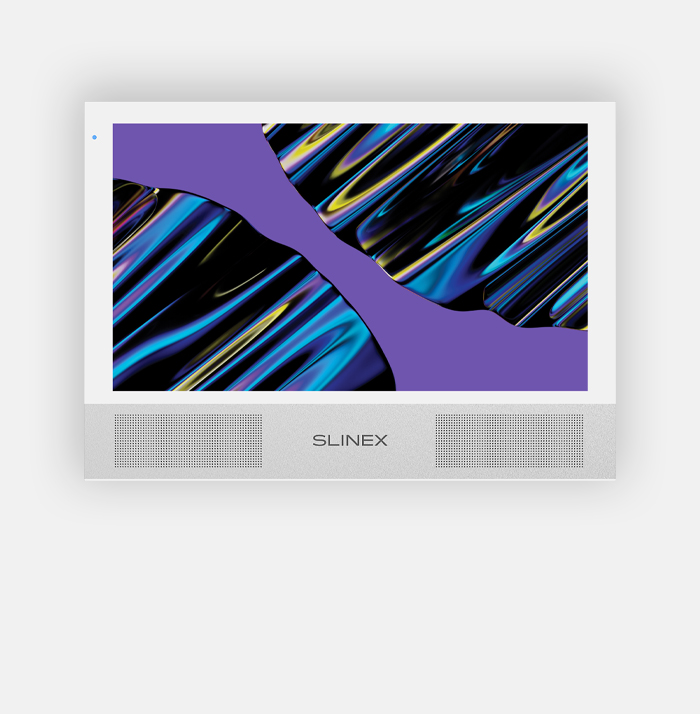
Slinex SL-10N Cloud
Flagship video intercom with smartphone call forwarding to the Slinex Smart Call App More
-
ML-20TLHD
Outdoor panel with a touchless call system More
-
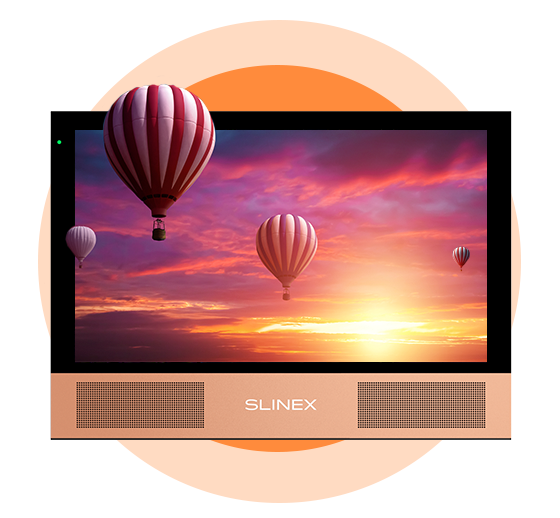
Sonik 10
The intercom what it should be! More
- 1
- 2
- 3
- 4
- 5
- 6
- 7
- 8
- 9
Slinex concept - an optimal combination of functionality and design quality.
These requirements are imposed by modern users to the intercom system.
4-wire video intercoms
Classic wiring – stable and proven solutions
IP Direct video intercoms
Smart IP intercoms with app control and network features
2-wire video intercoms
Smart 2Line video intercom system for modern buildings
Slinex concept - an optimal combination of functionality and design quality.
These requirements are imposed by modern users to the intercom system.

WARRANTY 24 MONTHS
All our equipment is provided an official guarantee of 24 months.

GREAT VALUE
Knowing the situation in the market, we sell devices at the lowest possible cost, while the quality remains at a consistently high level.

RELIABILITY
All our equipment passes input and output quality control. You can be confident in the reliability of the devices.

A WIDE RANGE OF
Our range has everything you need - calling panels, video intercoms and additional accessories.

SECURITY
All our equipment complies with all safety requirements

ONLINE CUSTOMER SUPPORT
For any questions related to Slinex equipment you can contact by live-chat or e-mail, and our experts will answer you as soon as possible.